Dairy-Free Matcha Cheesecake
April 18, 2023


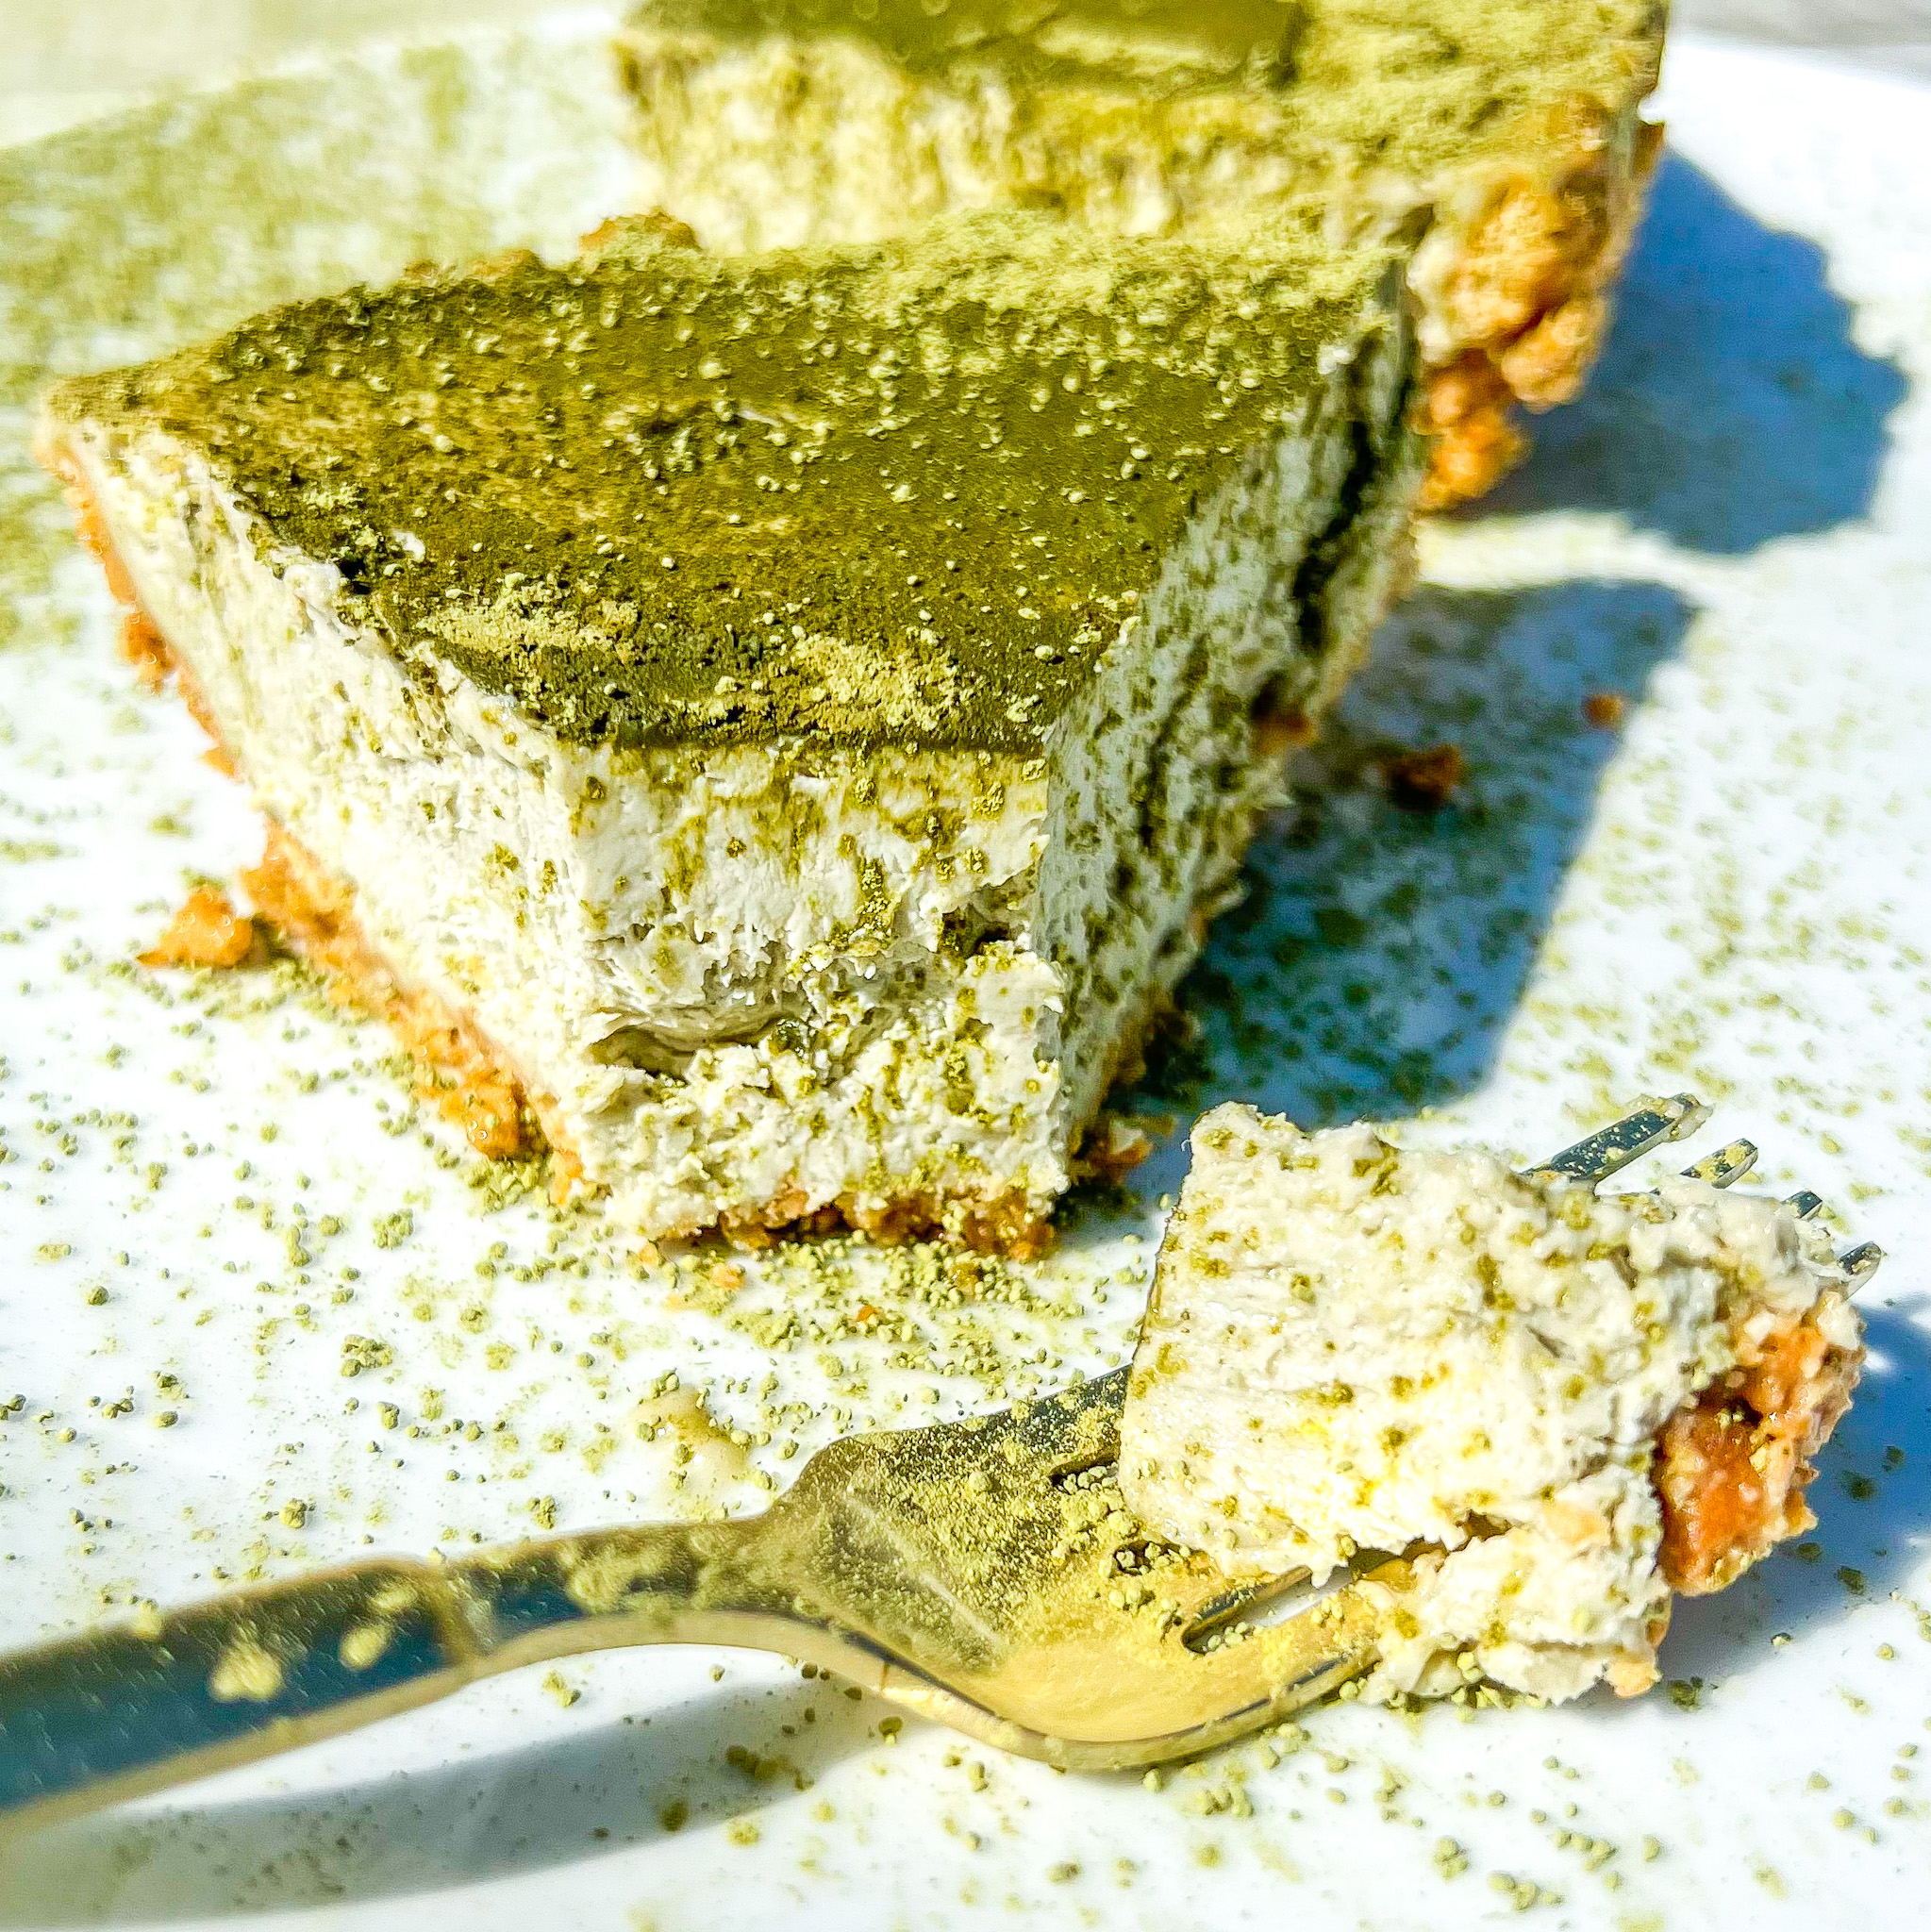
Dairy-Free Matcha Cheesecake
This dairy-free & vegan matcha cheesecake only uses one blender and requires no baking! #ITKWCB #ChefBae
Ingredients
For the Pie Crust:
- 1 cup packed medjool dates pitted
- 1 1/2 cups raw walnuts or almonds
- 1 pinch sea salt
For the Filling:
- 1 1/2 cups raw cashews soaked overnight in cool water or in very hot water for 1 hour
- 1 tsp vanilla extract optional
- 1 medium lemon juiced
- 1/4 cup light coconut milk
- 1/4 scant cup melted coconut oil
- 1/2 cup maple syrup
- 1/4 cup coconut yogurt I love COCOYO Brand
- 1/4 tsp sea salt
- 2 tsp matcha green tea powder
Instructions
- Add cashews to a bowl, cover with very hot water, and let soak 1 hour. Or cover with cool water and let soak for 6-8 hours or overnight. Drain well and set aside.
- Add dates to a food processor and blend until small bits remain and it forms into a ball. Remove and set aside.
- Next, add nuts and salt and process into a meal. Then add dates back in and blend until a loose dough forms – it should stick together when you squeeze a bit between your fingers. If it’s too dry, add a few more dates through the spout while processing. If too wet, add more chopped walnuts.
- Line a standard pie, round cake dish, or 7-inch springform pan (I like this one!) with parchment paper (adjust number/size of pans if altering batch size). Then add crust mixture and carefully press with fingers to distribute.
- To pack it down, use a flat-edged drinking glass lined with parchment paper and really press it down, pushing some crust up the sides. Place in the freezer to firm up.
- Add all filling ingredients to a high-speed blender and blend until creamy and smooth, scraping down sides as needed. If it has trouble blending, add a bit more coconut milk.
- Taste and adjust flavor/sweetness as needed, adding more coconut yogurt or lemon juice for tang, maple syrup for sweetness, or vanilla for vanilla flavor.
- Pour the filling into the crust and tap a few times to release any air bubbles.
- Cover loosely with plastic wrap and freeze until set – about 3-4 hours depending on size of dish. When set, it will be firm to the touch.
- To serve, set out of the freezer until slightly soft to the touch – about 15-20 minutes. Then slice with a hot knife for easier slicing. Top with a touch of coconut whipped cream and fresh berries, or enjoy as is!
- Once this cheesecake has been frozen, it can be stored in the refrigerator up to 3 days, but it will become quite soft. For this reason, I recommend storing it in the freezer and setting out for 15-20 minutes before slicing/serving to enjoy the best texture. Store leftovers in the freezer up to 1 month or the refrigerator up to 3 days.